[React] create-react-app & Typescript 초기 세팅법 완벽 정리

🥩 Typescript & create-react-app
최근 타입스크립트 강의를 들으면서 create-react-app을 설정하는 법이 궁금했다. 왜냐면 React 제일 많이 사용해보았고
포트폴리오도 React로 주 언어로 개발했기 때문이다.
그리고 앞으로 사용하게될 것이기도 하고, 언제까지나 JS계열로 프로젝트를 진행할 수 는 없다! 그리고 업무시 중요한
eslint 와 preiiter 설정도 해보자!
1. create-react-app을 이용해 typescript 버전으로 설치
2. eslint & preitter typescript 버전으로 설치
이 두가지 버전이 세팅에 가장 중요한 부분이다. 하지만 먼저 알아야 하는 사항들 세가지가 있다
1. Typescript를 사용하는 create-react-app은 어떤 방식으로 생성 해야할까?
2. Typescript로 만든 create-react-app을 어떻게 eslint와 prettier 설정을 해야할까?
3. Typescript로 만든 create-react-app을 Github Pages에 배포할까? (필수 사항은 아님! 배포해보고 싶은사람만)
🍕 Typescript create-react-app 생성하기
$npx-create-react-app "생성할 프로젝트 이름" --template typescript먼저 앞부분은 react앱을 생성하는 거처럼 npx를 이용해 react-app을 생성하고 프로젝트 이름을 명시한다.
그리고 뒷부분의 --template typescript를 명시해 typescript 모드로 프로젝트를 생성해준다.
🍳 기존 React JS와의 차이점
$npx-create-react-app "프로젝트 이름"기존의 React 프로젝트를 생성하는 법이다. 이곳에서 프로젝트 뒤에 template 와 typescript가 붙은 것이다.
Template
create-react-app을 사용하는 이유로는 React로 프로젝트를 만들때, 많은 설정들을 하지않기 위해서인데 Typescript만을 위해 너무 많을 설정을 했다. 하지만 Typescript는 이제 Javascript에서 중요한 역할을 해주고 있기에 React에서도
Typescript를 사용하지 않을 이유는 없다.
create-react-app도 이렇게 Typescript에 중요성을 인지하고 있으며, Typescript를 더욱 간단하게 지원해주기 위해서
Template 옵션을 제공하고 있는 것이다.
typescript로 리액트 프로젝트를 생성하고 VsCode로 열어보자.

기본적으로 typescript계열로 프로젝트를 생성한 파일들이다 ts 와 tsx 계열로 된 파일이 세팅되어있다.
$npm i --save react react-dom typescript
$npm i --save-dev @types/react @types/react-dom @types/node
추가로 typescript에 필요한 라이브러리를 설치해둔다.
tsconfig.json 파일은 맨 처음 yarn start로 명령어를 실행할때 tsconfig.json이 없다는 것을 알아채고
자동적으로 만들어낸다.
현재 default 상태에 "baseUrl": "./src" 코드만 추가했는데
저 의미는 ./src를 절대 경로로 갖겠다는 의미.
나중에 프로젝트를 개발하면서 기능이 늘어나면 경로 지옥에 빠질 수 있는 사고를 방지하기 위해 초기설정을 해두자.
{
  "compilerOptions": {
    "target": "es5",
    "lib": [
      "dom",
      "dom.iterable",
      "esnext"
    ],
    "baseUrl": "./src",
    "allowJs": true,
    "skipLibCheck": true,
    "esModuleInterop": true,
    "allowSyntheticDefaultImports": true,
    "strict": true,
    "forceConsistentCasingInFileNames": true,
    "noFallthroughCasesInSwitch": true,
    "module": "esnext",
    "moduleResolution": "node",
    "resolveJsonModule": true,
    "isolatedModules": true,
    "noEmit": true,
    "jsx": "react-jsx"
  },
  "include": [
    "src"
  ]
}
위코드를 참조해서 작성하면 된다.
🧇 eslint & prettier 설정하기
🥢 eslint

Javascript 코드에서 발견된 문제 패턴을 식별해주기 위한 정적 코드 분석 도구다.
코드를 분석해 문법적인 오류나 안티 패턴을 찾아주고 일관된 코드 스타일로 작성하도록 도와준다.
자세한 내용을 eslint.org를 참고하면된다.
1. eslint 익스텐션 설치 (vsc)
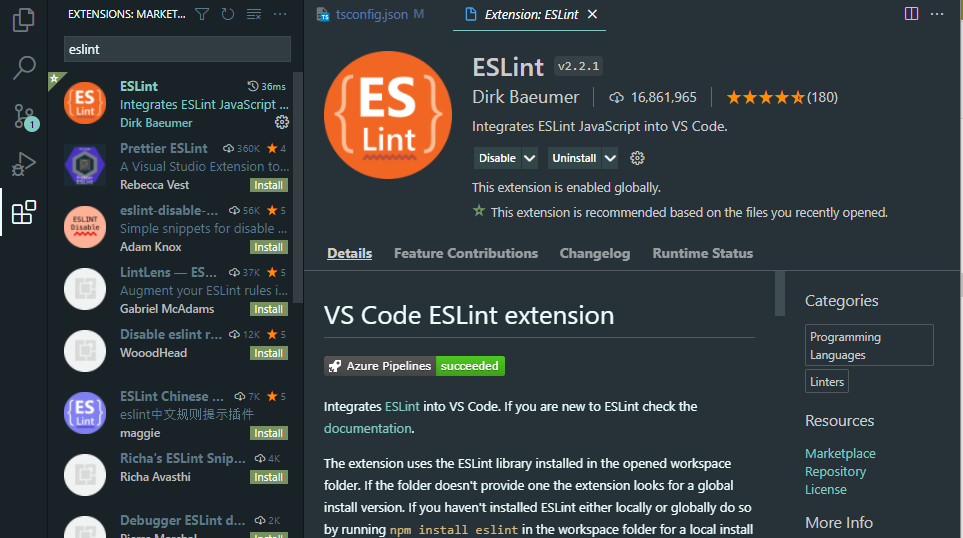
visual studio code에서 extension에서 eslint를 설치해준다.
2. 프로젝트에서 eslint 설치 (development로)
$npm install -D eslint3. 프로젝트 루트 폴더에 "npx eslint --init" 입력
$npx eslint --init
입력시 여러가지 옵션들을 설정할수 있도록 나오는데
자신이 만들고자 하는 프로젝트 성향에 맞게 답을 택하면 된다.
✔ How would you like to use ESLint? · problems
✔ What type of modules does your project use? · commonjs
✔ Which framework does your project use? · react
* ✔ Does your project use TypeScript? · No / Yes
✔ Where does your code run? · browser
✔ What format do you want your config file to be in? · JavaScript

* The config that you've selected requires the following dependencies:
eslint-plugin-react@latest @typescript-eslint/eslint-plugin@latest @typescript-eslint/parser@latest
✔ Would you like to install them now with npm? · No / Yes
위의 리스트는 eslint 옵션을 설정하는 질문인데 * 표시해둔 부분은 가장 중요한 부분들이다.
Typscript를 사용하냐에 질문에 Yes를 해야하고 여러 플러그인들을 설치하냐에도 Yes를 선택해야 한다.
4. 추가 플러그인 설치
$npm i -D eslint-config-airbnb-base # 리액트 관련 규칙 X
$npm i -D eslint-config-airbnb # 리액트 관련 규칙 O
airbnb에서 제작판 플러그인 인데 리액트 관련 규칙을 설정해주는 플러그인이다.
$npm i -D eslint-plugin-react eslint-plugin-react-hooks
$npm i -D eslint-plugin-jsx-a11y eslint-plugin-import eslint-plugin-prettier eslint-config-prettier- eslint-plugin-import: ES6의 import, export 구문을 지원해주는 필수 플러그인
- eslint-plugin-react: React 규칙이 들어있는 플러그인
- eslint-plugin-react-hooks: React Hooks 규칙이 들어있는 플러그인
- eslint-plugin-jsx-a11y: JSX요소의 접근성 규칙에 대한 정적 검사 플러그인
5. eslintrc.json 파일에 코드넣기
위의 사항이 다 만족된다면 최종적으로 플러그인이 설치된뒤 폴더안에 .eslintrc.js 파일이 생성될 것이다.

module.exports = {
  parser: '@typescript-eslint/parser',
  plugins: ['@typescript-eslint', 'prettier'],
  extends: [
    'airbnb', // or airbnb-base
    'plugin:react/recommended',
    'plugin:jsx-a11y/recommended', // 설치 한경우
    'plugin:import/errors', // 설치한 경우
    'plugin:import/warnings', // 설치한 경우
    'plugin:@typescript-eslint/recommended',
    'plugin:prettier/recommended',
  ],
  rules: {
    'linebreak-style': 0,
    'import/prefer-default-export': 0,
    'import/extensions': 0,
    'no-use-before-define': 0,
    'import/no-unresolved': 0,
    'react/react-in-jsx-scope': 0,
    'import/no-extraneous-dependencies': 0, // 테스트 또는 개발환경을 구성하는 파일에서는 devDependency 사용을 허용
    'no-shadow': 0,
    'react/prop-types': 0,
    'react/jsx-filename-extension': [
      2,
      { extensions: ['.js', '.jsx', '.ts', '.tsx'] },
    ],
    'jsx-a11y/no-noninteractive-element-interactions': 0,
    '@typescript-eslint/explicit-module-boundary-types': 0,
  },
  settings: {
    'import/resolver': {
      node: {
        extensions: ['.js', '.jsx', '.ts', '.tsx'],
      },
    },
  },
};
그리고 해당 파일 안에는 내용에 위와 같이 채워주면 된다.
extends는 ESLint에 적용할 규칙을 정의해주는 곳이다.
나중에 정의된 (= 밑에 있는) 옵션일수록 높은 우선순위를 가진다.
그리고 eslint는 엄청나게 엄격한 규칙이 요구되는데, 가끔 그런 규칙을 무시하고 싶다면
rules 란에 "해당 규칙" : 0의 옵션을 주면 그 규칙을 무시하겠다 라는 뜻이 된다.
자신의 입맛에 맞게 설정하면 된다.
🎎 prettier

prettier는 code formatter이다.
코드를 정리할 때 자동적으로 코드를 일정한 형식으로 맞추어준다. 우리가 협업 시 개개인의 코드 스타일이
전부 다르기 떄문에 합쳤을 때 충돌이 일어나거나, 보기에도 않 좋을 수 있는 것을 방지해준다.
1. prettier 익스텐션 설치 (vsc)
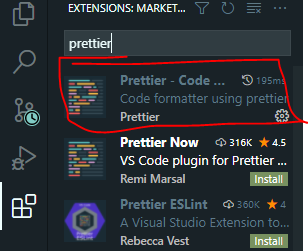
visual studio code 에 extension 에서 prettier를 설치해준다.
2. 프로젝트에서 prettier 설치 (development)
$npm install -D prettier3. 프로젝트 루트 폴더에서 .prettierrc 파일 생성

프로젝트 루트 폴더에 .prettierrc 파일을 생성해준다
이 파일 안에는 formatting에 대한 규칙을 적어주는 파일이다.
{
  "singleQuote": true,
  "semi": true,
  "useTabs": false,
  "tabWidth": 2,
  "trailingComma": "all",
  "printWidth": 80,
  "arrowParens": "always",
  "orderedImports": true,
  "bracketSpacing": true,
  "jsxBracketSameLine": false
}
prettier 규칙에 관한 것은 홈페이지에서 참고
4. settings.json 파일 수정
prettier은 우선 전역으로 설정해주는 settings.json 파일을 먼저 본뒤,
프로젝트 안에 .prettierrc 파일이 있다면 그 파일을 뒤에 참조하는 방식으로 작동한다.
settings.json 찾는 법
전역으로 설정해줄 설정은 다음과 같이 입력
{
  "editor.codeActionsOnSave": {
    "source.fixAll.eslint": true
  },
  "window.zoomLevel": -1,
  "editor.formatOnSave": true,
  "[javascript]": { "editor.defaultFormatter": "esbenp.prettier-vscode" },
  "[javascriptreact]":{ "editor.defaultFormatter": "esbenp.prettier-vscode" },
  "[typescript]": { "editor.defaultFormatter": "esbenp.prettier-vscode" },
  "[typescriptreact]": { "editor.defaultFormatter": "esbenp.prettier-vscode" }
}
저기서 window.zoomLevel은 IDE의 확대 사이즈를 의미
"CTRL" + "+" 혹은 "CTRL" + "-" 로 줄였다 늘리기가 가능하다.
이렇게 해서 코드 포맷팅, 좋은 코드를 위한 초기 설정이 끝이났다.
🎆 참고 사이트
https://velog.io/@junghyeonsu/React-create-react-app-Typescript
[React] create-react-app & Typescript 초기 세팅 완벽 정리
최근에 타입스크립트를 배우고 타입스크립트로 create-react-app을 설정하는데 시간이 많이 걸렸다..그리고 새로 프로젝트를 시작할 때 초기세팅을 완벽하게 하자! 라고 생각을 해서 협업을 할 때
velog.io
https://chanyeong.com/blog/post/17
VSC + TypeScript + Eslint + Prettier 설정하기 :: chanyeong
Eslint란? 자바스크립트와 타입스크립트의 코딩 스타일 도구이다. 오픈소스로 특정한 코딩 스타일 가이드라인을 따르지 않은 패턴을 찾아 사후에 발생할 수 있는 잠재적 문제점을 사전에 발견 할
chanyeong.com